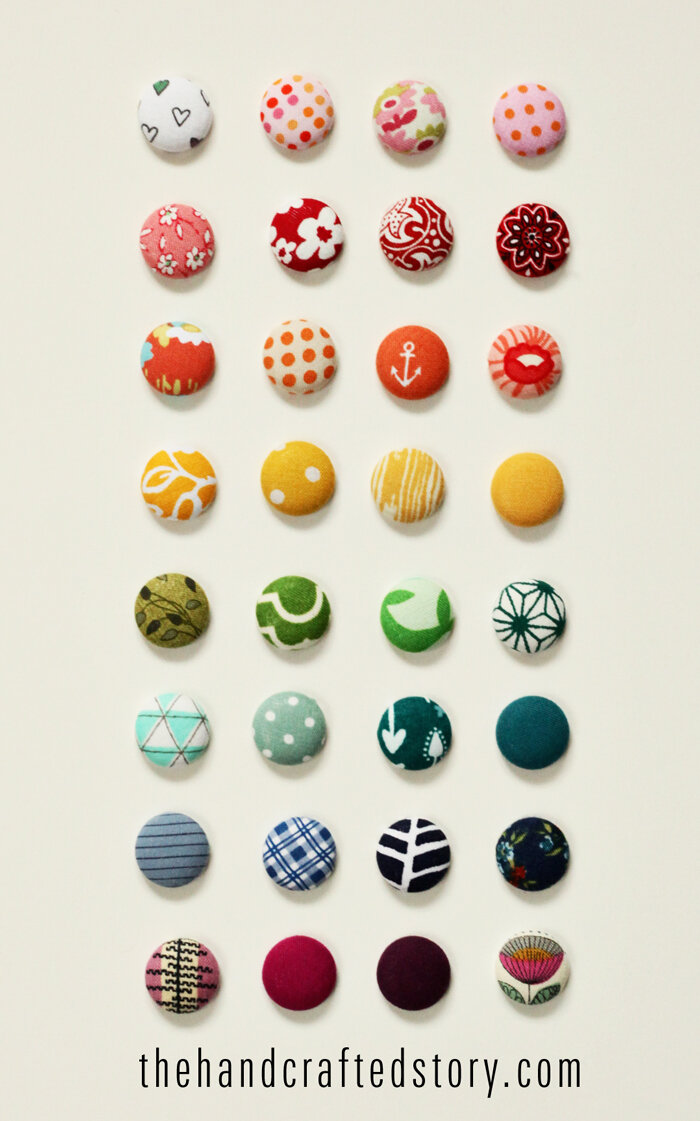
It's fall but I've been thinking of Christmas stocking stuffer gift ideas for our kids. Since our oldest is creating more artwork than we can keep, I thought some magnets for the bulletin boards in her room would help her display her creations.
Supplies and Tools to Make Fabric Covered Magnets
To make fabric covered magnets, you will need a button kit. (I used size 30, with flat backs. Flat backs are better than the wire backs, which you need to pull out with pliers to glue on the magnet. The size 30 are 3/4" buttons).
You also need:
- fabric scraps (about 1.5" squares cover the size 30 buttons)
- scissors
- pencil
- magnets
- glue gun
- a washer (optional, depending on depth of magnet).

Step-by-Step Instructions for Making DIY Fabric Covered Magnets
The button kit should come with a pattern that you can cut out, obviously you'll want to cut out the circle that is the same size as your buttons.
I used a pencil to trace the pattern onto the fabric and then cut a circle from the fabric.
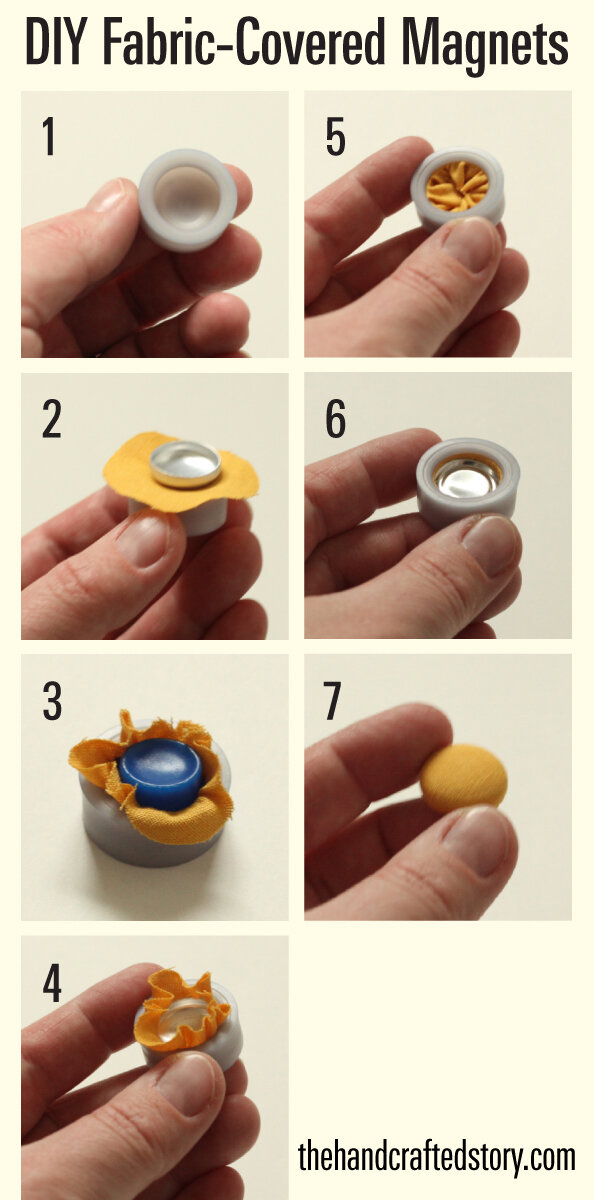
Then follow these instructions on how to make the buttons.
- Pick up the rubber button mold.
- Place the circle of fabric on top of the mold. Place the rounded button piece on top of the fabric.
- Use the button pusher (it's the blue object in these photos) to push the fabric and button into the mold.
- Take out the pusher.
- Tuck the fabric in with your fingers.
- Put the button back on top of the fabric and use the button pusher to pop the button back in.
- Voila! You have a button.
- (not pictured) Glue the magnet on the back. I used super strong skinny magnets which were too skinny to glue in by themselves, so first I glued in small washers (I bought them at a hardware store), then glued the magnet on top of the washer.


